The moment students know Nectir exists, and understand why it’s different, they use it more confidently all semester. Whether your institution uses Canvas, Moodle, or a direct link, the resources below work for all.

What’s Included

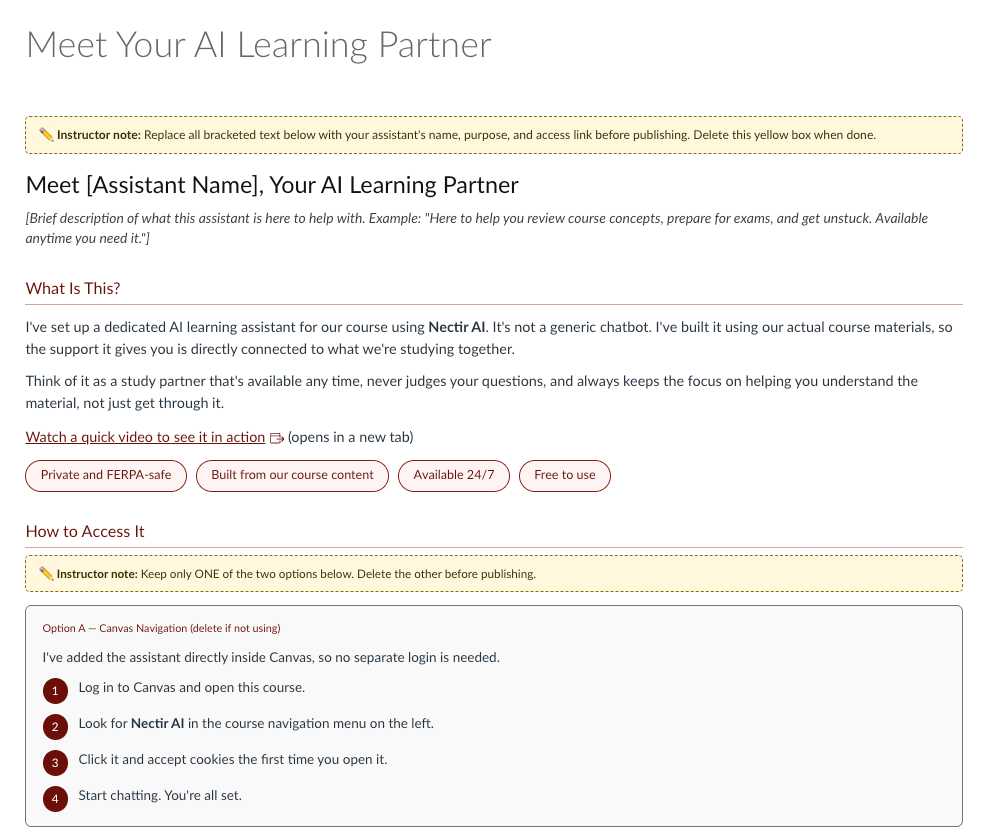
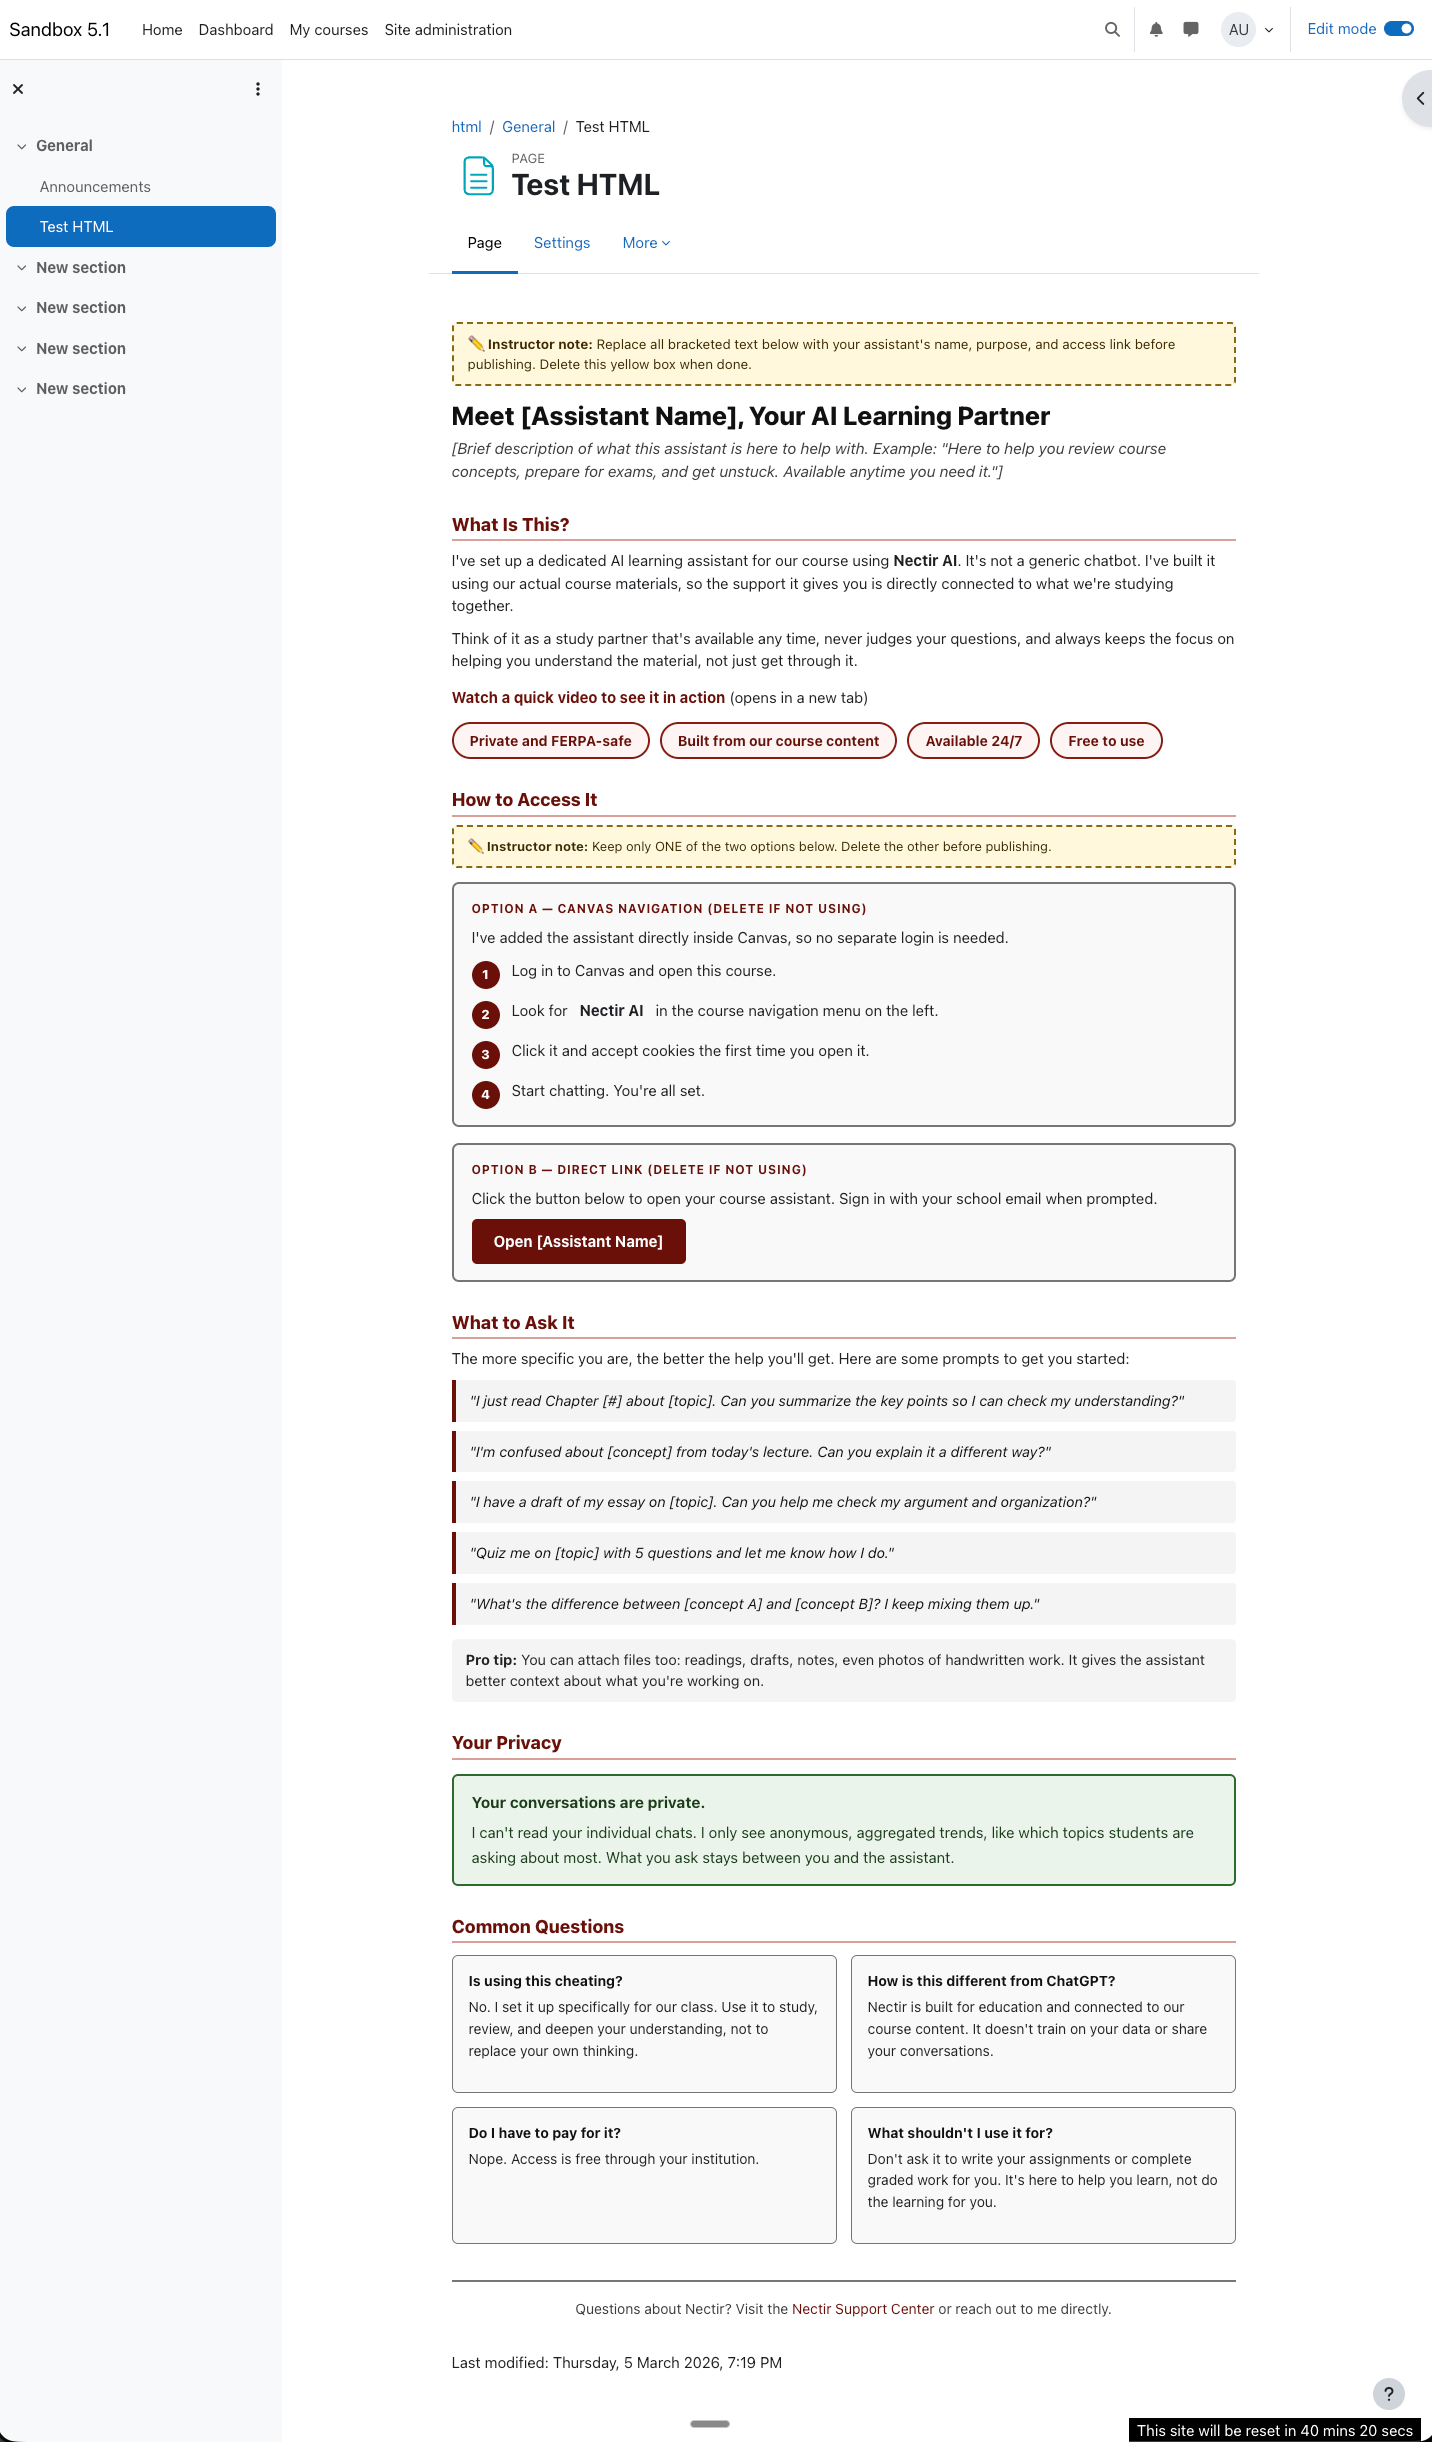
What the Page Looks Like

The page introduces students to their AI Assistant with access instructions, example prompts, and FAQs. Here’s a preview of the customizable, student-facing page you’ll be adding to your course:
Preview of the Canvas student introduction page showing the AI learning partner template with sections for access, example prompts, privacy, and FAQs
Preview of the Moodle student introduction page showing the AI learning partner template with sections for access, example prompts, privacy, and FAQs

Add the Page to Your Course

The same HTML template works in both Canvas and Moodle. Choose your LMS below for setup instructions.
There are two ways to add the page in Canvas: paste the HTML directly or import a pre-built course file.
Use Canvas’s built-in HTML editor to paste the template directly into a new page in your course. Before publishing, personalize the highlighted sections: your Assistant’s name, how students access it, and any course-specific context.
1

Copy the HTML Code

Expand the code block below and copy the entire HTML template.
<!DOCTYPE html>
<html lang="en">
<head>
<meta charset="UTF-8">
<meta name="viewport" content="width=device-width, initial-scale=1.0">
<title>Meet Your AI Learning Partner</title>
</head>
<body style="font-family: Arial, sans-serif; font-size: 16px; color: #222222; background: #ffffff; max-width: 820px; margin: 0 auto; padding: 24px 20px 48px; line-height: 1.7;">

  <main id="main-content">

    <!-- INSTRUCTOR NOTE -->
    <div role="note" style="background: #FFF8DC; border: 2px dashed #8B6914; border-radius: 5px; padding: 10px 14px; margin-bottom: 14px; font-size: 13.5px; color: #3D2B00;">
      <strong>✏️ Instructor note:</strong> Replace all bracketed text below with your assistant's name, purpose, and access link before publishing. Delete this yellow box when done.
    </div>

    <!-- PAGE HEADER -->
    <header style="margin-bottom: 28px;">
      <h1 style="font-size: 26px; font-weight: 800; color: #111111; margin-bottom: 6px; margin-top: 0;">Meet [Assistant Name], Your AI Learning Partner</h1>
      <p style="font-size: 15.5px; color: #3D3D3D; font-style: italic; margin: 0;">[Brief description of what this assistant is here to help with. Example: "Here to help you review course concepts, prepare for exams, and get unstuck. Available anytime you need it."]</p>
    </header>

    <!-- WHAT IS THIS -->
    <section aria-labelledby="what-heading">
      <h2 id="what-heading" style="font-size: 18px; font-weight: 800; color: #6B1008; margin: 30px 0 8px; padding-bottom: 4px; border-bottom: 2px solid #D9A09A;">What Is This?</h2>
      <p style="margin-bottom: 10px;">I've set up a dedicated AI learning assistant for our course using <strong>Nectir AI</strong>. It's not a generic chatbot. I've built it using our actual course materials, so the support it gives you is directly connected to what we're studying together.</p>
      <p style="margin-bottom: 14px;">Think of it as a study partner that's available any time, never judges your questions, and always keeps the focus on helping you understand the material, not just get through it.</p>

      <!-- VIDEO LINK -->
      <p style="margin-bottom: 14px;"><a href="https://support.nectir.io/interacting/using-your-assistant" target="_blank" rel="noopener noreferrer" style="color: #6B1008; font-weight: 700;">Watch a quick video to see it in action</a> (opens in a new tab)</p>

      <!-- PILLS -->
      <ul role="list" aria-label="Key features" style="list-style: none; display: flex; flex-wrap: wrap; gap: 10px; margin: 0 0 20px; padding: 0;">
        <li style="background: #FDF4F3; border: 2px solid #8B1A10; border-radius: 20px; padding: 6px 16px; font-size: 14px; font-weight: 700; color: #6B1008;">Private and FERPA-safe</li>
        <li style="background: #FDF4F3; border: 2px solid #8B1A10; border-radius: 20px; padding: 6px 16px; font-size: 14px; font-weight: 700; color: #6B1008;">Built from our course content</li>
        <li style="background: #FDF4F3; border: 2px solid #8B1A10; border-radius: 20px; padding: 6px 16px; font-size: 14px; font-weight: 700; color: #6B1008;">Available 24/7</li>
        <li style="background: #FDF4F3; border: 2px solid #8B1A10; border-radius: 20px; padding: 6px 16px; font-size: 14px; font-weight: 700; color: #6B1008;">Free to use</li>
      </ul>
    </section>

    <!-- HOW TO ACCESS -->
    <section aria-labelledby="access-heading">
      <h2 id="access-heading" style="font-size: 18px; font-weight: 800; color: #6B1008; margin: 30px 0 8px; padding-bottom: 4px; border-bottom: 2px solid #D9A09A;">How to Access It</h2>

      <div role="note" style="background: #FFF8DC; border: 2px dashed #8B6914; border-radius: 5px; padding: 10px 14px; margin-bottom: 14px; font-size: 13px; color: #3D2B00;">
        <strong>✏️ Instructor note:</strong> Keep only ONE of the two options below. Delete the other before publishing.
      </div>

      <!-- Option A -->
      <div style="border: 2px solid #767676; border-radius: 7px; padding: 16px 18px; background: #F9F9F9; margin-bottom: 16px;">
        <span style="display: block; font-size: 12px; font-weight: 700; text-transform: uppercase; letter-spacing: .07em; color: #6B1008; margin-bottom: 8px;">Option A — Canvas Navigation (delete if not using)</span>
        <p style="font-size: 15px; margin-bottom: 10px;">I've added the assistant directly inside Canvas, so no separate login is needed.</p>
        <ol aria-label="Steps to access via Canvas" style="list-style: none; padding: 0; margin: 0;">
          <li style="display: flex; align-items: flex-start; gap: 12px; margin-bottom: 10px; font-size: 15px;">
            <span aria-hidden="true" style="min-width: 28px; height: 28px; background: #6B1008; color: #ffffff; border-radius: 50%; font-weight: 800; font-size: 13px; display: flex; align-items: center; justify-content: center; flex-shrink: 0; margin-top: 2px;">1</span>
            <span>Log in to Canvas and open this course.</span>
          </li>
          <li style="display: flex; align-items: flex-start; gap: 12px; margin-bottom: 10px; font-size: 15px;">
            <span aria-hidden="true" style="min-width: 28px; height: 28px; background: #6B1008; color: #ffffff; border-radius: 50%; font-weight: 800; font-size: 13px; display: flex; align-items: center; justify-content: center; flex-shrink: 0; margin-top: 2px;">2</span>
            <span>Look for <strong>Nectir AI</strong> in the course navigation menu on the left.</span>
          </li>
          <li style="display: flex; align-items: flex-start; gap: 12px; margin-bottom: 10px; font-size: 15px;">
            <span aria-hidden="true" style="min-width: 28px; height: 28px; background: #6B1008; color: #ffffff; border-radius: 50%; font-weight: 800; font-size: 13px; display: flex; align-items: center; justify-content: center; flex-shrink: 0; margin-top: 2px;">3</span>
            <span>Click it and accept cookies the first time you open it.</span>
          </li>
          <li style="display: flex; align-items: flex-start; gap: 12px; margin-bottom: 0; font-size: 15px;">
            <span aria-hidden="true" style="min-width: 28px; height: 28px; background: #6B1008; color: #ffffff; border-radius: 50%; font-weight: 800; font-size: 13px; display: flex; align-items: center; justify-content: center; flex-shrink: 0; margin-top: 2px;">4</span>
            <span>Start chatting. You're all set.</span>
          </li>
        </ol>
      </div>

      <!-- Option B -->
      <div style="border: 2px solid #767676; border-radius: 7px; padding: 16px 18px; background: #F9F9F9;">
        <span style="display: block; font-size: 12px; font-weight: 700; text-transform: uppercase; letter-spacing: .07em; color: #6B1008; margin-bottom: 8px;">Option B — Direct Link (delete if not using)</span>
        <p style="font-size: 15px; margin-bottom: 10px;">Click the button below to open your course assistant. Sign in with your school email when prompted.</p>
        <a href="[PASTE SHARE LINK HERE]" target="_blank" rel="noopener noreferrer" aria-label="Open [Assistant Name], opens in a new tab" style="display: inline-block; background: #6B1008; color: #ffffff; text-decoration: none; padding: 11px 22px; border-radius: 5px; font-size: 15px; font-weight: 700;">Open [Assistant Name]</a>
      </div>
    </section>

    <!-- WHAT TO ASK -->
    <section aria-labelledby="prompts-heading">
      <h2 id="prompts-heading" style="font-size: 18px; font-weight: 800; color: #6B1008; margin: 30px 0 8px; padding-bottom: 4px; border-bottom: 2px solid #D9A09A;">What to Ask It</h2>
      <p style="margin-bottom: 10px;">The more specific you are, the better the help you'll get. Here are some prompts to get you started:</p>

      <ul role="list" aria-label="Example prompts" style="list-style: none; padding: 0; margin: 10px 0 14px;">
        <li style="background: #F4F4F4; border-left: 4px solid #6B1008; border-radius: 0 4px 4px 0; padding: 10px 14px; margin-bottom: 9px; font-size: 14.5px; color: #111111; font-style: italic;">"I just read Chapter [#] about [topic]. Can you summarize the key points so I can check my understanding?"</li>
        <li style="background: #F4F4F4; border-left: 4px solid #6B1008; border-radius: 0 4px 4px 0; padding: 10px 14px; margin-bottom: 9px; font-size: 14.5px; color: #111111; font-style: italic;">"I'm confused about [concept] from today's lecture. Can you explain it a different way?"</li>
        <li style="background: #F4F4F4; border-left: 4px solid #6B1008; border-radius: 0 4px 4px 0; padding: 10px 14px; margin-bottom: 9px; font-size: 14.5px; color: #111111; font-style: italic;">"I have a draft of my essay on [topic]. Can you help me check my argument and organization?"</li>
        <li style="background: #F4F4F4; border-left: 4px solid #6B1008; border-radius: 0 4px 4px 0; padding: 10px 14px; margin-bottom: 9px; font-size: 14.5px; color: #111111; font-style: italic;">"Quiz me on [topic] with 5 questions and let me know how I do."</li>
        <li style="background: #F4F4F4; border-left: 4px solid #6B1008; border-radius: 0 4px 4px 0; padding: 10px 14px; margin-bottom: 0; font-size: 14.5px; color: #111111; font-style: italic;">"What's the difference between [concept A] and [concept B]? I keep mixing them up."</li>
      </ul>

      <p style="font-size: 14.5px; color: #222222; background: #F4F4F4; border-radius: 5px; padding: 10px 14px; margin-top: 4px;"><strong>Pro tip:</strong> You can attach files too: readings, drafts, notes, even photos of handwritten work. It gives the assistant better context about what you're working on.</p>
    </section>

    <!-- PRIVACY -->
    <section aria-labelledby="privacy-heading">
      <h2 id="privacy-heading" style="font-size: 18px; font-weight: 800; color: #6B1008; margin: 30px 0 8px; padding-bottom: 4px; border-bottom: 2px solid #D9A09A;">Your Privacy</h2>
      <div role="region" aria-label="Privacy information" style="background: #EAF4EA; border: 2px solid #2D6B2D; border-radius: 6px; padding: 14px 18px; margin: 14px 0 20px; font-size: 15px; color: #1A3D1A; line-height: 1.65;">
        <strong style="display: block; margin-bottom: 5px; font-size: 15.5px;">Your conversations are private.</strong>
        I can't read your individual chats. I only see anonymous, aggregated trends, like which topics students are asking about most. What you ask stays between you and the assistant.
      </div>
    </section>

    <!-- FAQ -->
    <section aria-labelledby="faq-heading">
      <h2 id="faq-heading" style="font-size: 18px; font-weight: 800; color: #6B1008; margin: 30px 0 8px; padding-bottom: 4px; border-bottom: 2px solid #D9A09A;">Common Questions</h2>
      <div style="display: grid; grid-template-columns: 1fr 1fr; gap: 14px; margin: 12px 0 24px;">

        <div style="background: #F9F9F9; border: 1px solid #767676; border-radius: 6px; padding: 14px 16px;">
          <dl>
            <dt style="font-weight: 700; font-size: 14px; color: #111111; margin-bottom: 5px;">Is using this cheating?</dt>
            <dd style="font-size: 14px; color: #222222; line-height: 1.55; margin: 0;">No. I set it up specifically for our class. Use it to study, review, and deepen your understanding, not to replace your own thinking.</dd>
          </dl>
        </div>

        <div style="background: #F9F9F9; border: 1px solid #767676; border-radius: 6px; padding: 14px 16px;">
          <dl>
            <dt style="font-weight: 700; font-size: 14px; color: #111111; margin-bottom: 5px;">How is this different from ChatGPT?</dt>
            <dd style="font-size: 14px; color: #222222; line-height: 1.55; margin: 0;">Nectir is built for education and connected to our course content. It doesn't train on your data or share your conversations.</dd>
          </dl>
        </div>

        <div style="background: #F9F9F9; border: 1px solid #767676; border-radius: 6px; padding: 14px 16px;">
          <dl>
            <dt style="font-weight: 700; font-size: 14px; color: #111111; margin-bottom: 5px;">Do I have to pay for it?</dt>
            <dd style="font-size: 14px; color: #222222; line-height: 1.55; margin: 0;">Nope. Access is free through your institution.</dd>
          </dl>
        </div>

        <div style="background: #F9F9F9; border: 1px solid #767676; border-radius: 6px; padding: 14px 16px;">
          <dl>
            <dt style="font-weight: 700; font-size: 14px; color: #111111; margin-bottom: 5px;">What shouldn't I use it for?</dt>
            <dd style="font-size: 14px; color: #222222; line-height: 1.55; margin: 0;">Don't ask it to write your assignments or complete graded work for you. It's here to help you learn, not do the learning for you.</dd>
          </dl>
        </div>

      </div>
    </section>

  </main>

  <footer style="margin-top: 36px; padding-top: 16px; border-top: 2px solid #767676; font-size: 14px; color: #3D3D3D; text-align: center;">
    <p>Questions about Nectir? Visit the <a href="https://support.nectir.io" target="_blank" rel="noopener noreferrer" style="color: #6B1008;">Nectir Support Center</a> or reach out to me directly.</p>
  </footer>

</body>
</html>
2

Create a New Canvas Page

In your Canvas course, go to Pages and click + Page. Switch to the HTML editor view.
3

Paste and Customize

Paste the HTML code and update the bracketed sections with your Assistant’s name, access instructions, and any course-specific details. Delete the yellow instructor notes when done.
4

Publish

Save and publish the page. Consider pinning it to your course homepage for visibility.
The same HTML template works in Moodle. Use the source code editor to paste it into a course page.
1

Copy the HTML Code

Expand the Canvas accordion above, open the Copy the HTML tab, and copy the entire HTML template from the code block.
2

Create a New Moodle Page

In your Moodle course, turn on Edit mode (top right corner). Inside a course section, click + Add an activity or resource and choose Page.
3

Paste the HTML

In the Content field, click ToolsSource code. Paste the HTML template into the source code editor and click Save.
4

Customize and Save

Update the bracketed sections with your Assistant’s name, access instructions, and course-specific details. Delete the yellow instructor notes, then save the page.

Tips for Introducing Nectir Well

Set the tone on Day 1. A brief, genuine introduction from you matters more than any page. Students take their cues from you. Let them know Nectir is a learning partner, not a shortcut, and that it’s built specifically for your class.
A framing that works well:
“Nectir is part of how this course works. It’s here to help you study, practice, and build understanding, not to replace your work or write for you.”
Put it somewhere they’ll actually see it. Pin the page to your course homepage, link it in your syllabus, or share it in a Week 1 announcement. Students who find Nectir early use it more.
Remind them at key moments. Students forget tools exist. A quick mention during Week 4–5, midterms, and finals makes a real difference in usage.

Announcement Rhythm

TimingMessage Focus
Week 1Introduce the Assistant and how to access it
Week 4–5Connect it to a current topic or assignment
Midterm WeekEncourage study support and practice problems
Finals WeekEnd-of-term encouragement and review

Ice Breaker Activity

Give students a low-stakes first interaction to build comfort with their Assistant. This works as a 5-minute in-class activity or an asynchronous assignment during Week 1.
1

Prompt Students to Try It

Ask students to open their AI Assistant and try one of these prompts:
  • “I’m confused about [topic from class]. Can you explain it a different way?”
  • “I’m working on [assignment information]. Can you help me think through my approach?”
  • “Here’s my explanation of [concept]. Can you tell me if I’ve got it right?”
2

Debrief Briefly

After the activity, ask a few students to share what they learned or what surprised them. This normalizes using the tool and shows it’s part of the learning process.
You don’t need to grade this. The goal is simply to get students past their first interaction so they’re comfortable returning on their own.

Syllabus Language

Copy and paste this paragraph into your syllabus. Update the bracketed sections to match your course.
This course uses Nectir AI, an AI-powered learning assistant built specifically
for [Course Name]. Nectir is available to help you study, review course material,
practice with sample problems, and deepen your understanding of key concepts.
It is not a substitute for completing your own work. To access Nectir, [describe
access method — e.g., "click the Nectir link in our LMS course" or "visit
nectir.io and log in with your school email"]. Your conversations with the
assistant are private and are not shared with your instructor. If you have
questions about appropriate use, please ask.
Pairing this with a brief verbal introduction on Day 1 makes a big difference. Students are more likely to use the tool when they hear directly from you that it’s encouraged.

Common Student Questions

Have these answers ready for the questions students ask most.
No. It’s a tool created for your class to help you study, review, and learn more effectively. Your instructor chose to include it as a learning resource.
No. Student conversations are private. Your instructor sees only general usage data, not individual conversations.
Nectir is built for education. It’s connected to your course content and doesn’t share or train on student data. It’s designed to help you learn, not just give you answers.
No. Access is free through your institution.
Don’t ask Nectir to complete graded work or bypass assignments. It’s meant to enhance your learning, not replace it. When in doubt, ask your instructor.

Faculty Guide

The AI Faculty Guide walks you through setup, student introductions, and strategies for keeping engagement strong all term long.

View the AI Faculty Guide

Comprehensive guide covering setup, introductions, and engagement strategies