1
Access Assistant Settings
Hover over your Assistant, click the three dots, and select Settings
2
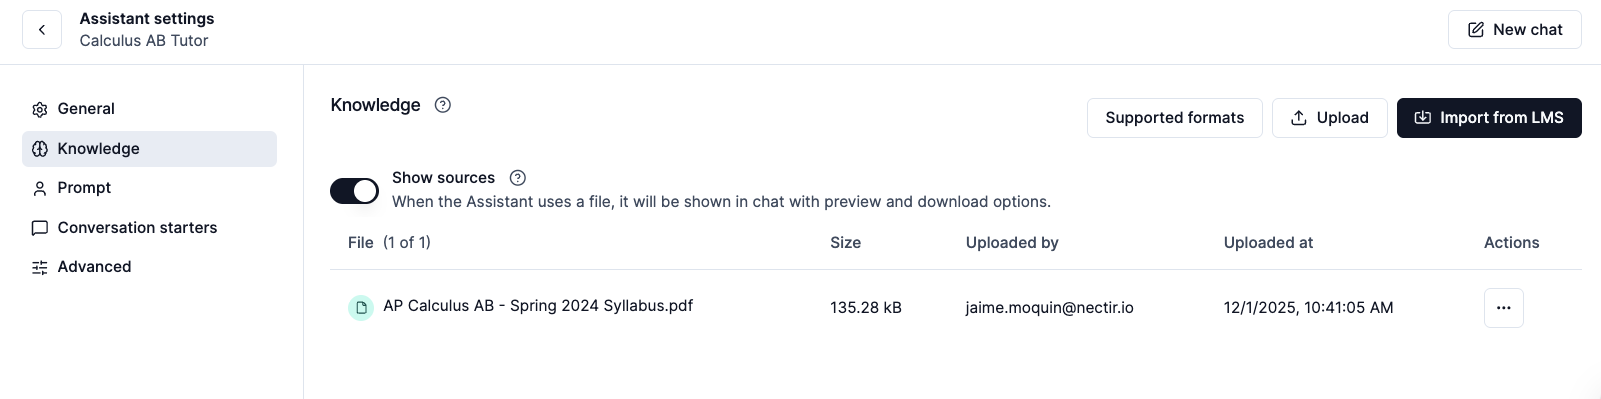
Navigate to Knowledge Tab
Click on the Knowledge tab in the sidebar
3
Choose How to Add Knowledge
Select your preferred method to add knowledge to your Assistant:
Upload
Upload files from your computer
Import Course Export
Import a course export (.imscc) from LMS
Add Website
Import content from a website URL
Add from Canvas
Connect to import course files
4
Configure Sources
Enable sources to show which knowledge files your Assistant references in responses. You can toggle sources on or off based on your preferences.
Learn more about Sources
Configure your source preferences
What to Upload
Course Information
Upload your syllabus, course materials, assignments, and any content specific to your course or program.
Campus-Specific Content
Include information unique to your campus, policies, procedures, and institutional guidelines.
Specialized Terminology
Add documents containing concepts, terminology, or jargon specific to your field or program.
Logistical Details
Include dates, deadlines, schedules, and any time-sensitive information your Assistant should know.
Supported Knowledge Sources
Website URLs
Any public website URL — text content is extracted from selected pages
Documents
.pdf .docx .xlsx .pptx
Plain Text
.txt .text .eml .md .xml
Images
.jpg .jpeg .png .heif .tiff .bmp
Audio
.mp3 .wav .flac .aac .m4a .opus
Video
.mp4 .webm .mpeg .mpg .mov .wmv
Code Files
.py java .c .cpp .h .js .css .html .sql
.R
File Limits: You can upload unlimited files with a maximum size of 150MB per file.
Understanding the Knowledge Table
The Knowledge table displays only files that are ready for use. Each file listed has completed processing successfully and is available for Assistants to reference during conversations. If a file appears in the Knowledge table, it’s usable.Why Files Do Not Appear Immediately
Why Files Do Not Appear Immediately
Uploading a file begins a background processing step that prepares the content for use.While processing is underway:
- The file does not appear in the Knowledge table
- Progress and results are shown in the Upload Queue
What Is Not Shown in the Knowledge Table
What Is Not Shown in the Knowledge Table
The Knowledge table intentionally excludes:
- Files that are still processing
- Files that failed during processing
- Files with upload errors
Uploading Files to Multiple Assistants
Uploading Files to Multiple Assistants
Files can be uploaded to multiple assistants at the same time.When uploading to multiple assistants:
- Each assistant processes the file independently
- Status appears per the assistant in the Upload Queue
- A file may succeed for one assistant and fail for another
Using the Upload Queue to Track File Status
The Upload Queue provides real-time visibility into file uploads and processing.What the Upload Queue Is
What the Upload Queue Is
It displays:
- Files currently being processed
- Files that completed successfully
- Files that encountered errors
Upload Statuses
Upload Statuses
Each file in the Upload Queue displays a clear status.Processing - The file is being prepared for use.Success - Processing completed successfully and the file is ready. The file will now appear in the Knowledge table.Error - Processing failed and the file was not added to knowledge. The file can be reuploaded or replaced.
Accessing Current Information
If you want your Assistant to access real-time information from the web instead of static uploaded files, consider enabling web search. When to use web search instead of uploading files:- You need access to current events, news, or recent developments
- You want real-time data like stock prices, weather, or statistics
- Your course requires students to connect concepts with current information
- The information changes frequently and would become outdated if uploaded as static files
Web search operates independently of your knowledge scope settings. Even if your Assistant is set to “Document Only” knowledge scope, enabling web search allows it to search the internet when needed. Knowledge scope only controls whether the Assistant uses its base AI model knowledge, not whether it can perform web searches.
Learn About Web Search
Configure web search and control which sources your Assistant uses
Managing Your Knowledge Files
Once uploaded, you can manage your knowledge files through the Assistant knowledge settings. Each file has a dropdown menu (three dots) that provides three key actions:Rename Files
Rename Files
Make your knowledge files more descriptive and easier to identify:
1
Click the Three Dots
Click on the three dots next to the file you want to rename
2
Select Rename
Choose “Rename” from the dropdown menu
3
Enter New Name
Type the new file name in the dialog box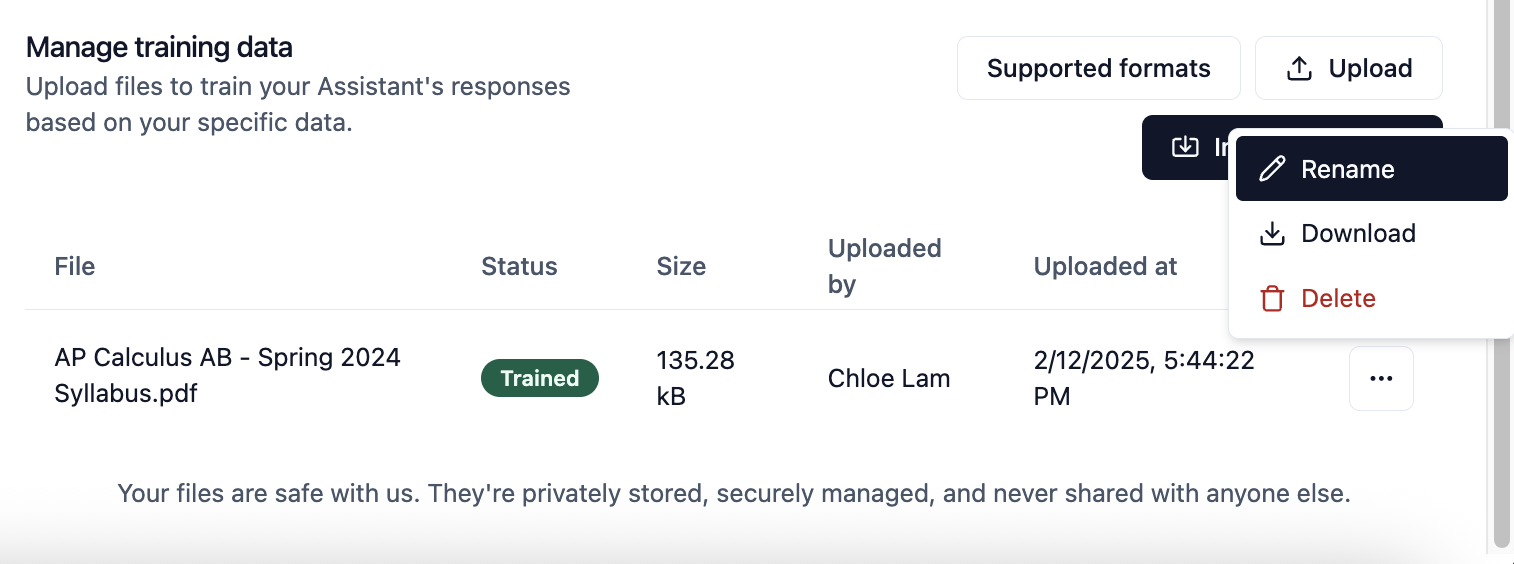
4
Save Changes
Click “Save” to apply the new file name
Download Files
Download Files
Retrieve a copy of a knowledge file for backup or modification:
1
Select Download
Choose the “Download” option from the dropdown menu
2
Save Locally
Your browser will prompt you to save the file to your local device
Downloading knowledge files is useful for backing up important content or making modifications before re-uploading.
Delete Files
Delete Files
Remove files from your Assistant’s knowledge base:
1
Select Delete
Choose the “Delete” option from the dropdown menu
2
Confirm Deletion
When prompted, confirm that you want to remove the file
Optimizing AI Performance
Provide Comprehensive Context
Upload complete documents rather than fragments. AI performs better with full context - include entire syllabi, complete assignment descriptions, and full policy documents rather than excerpts.
Include Explicit Examples
Add files with concrete examples, sample work, and case studies. AI learns patterns from examples and can better replicate the style and quality you expect.
Use Descriptive Metadata
Name files with clear, descriptive titles that indicate content, purpose, and context (e.g., “Week-3-Calculus-Problem-Set-with-Solutions.pdf” vs “homework3.pdf”).
Layer Knowledge Strategically
Start with foundational materials (syllabus, course overview) then add specific content (assignments, readings). This mirrors how humans build understanding from general to specific.
Include Edge Cases
Upload documents that cover exceptions, special circumstances, and frequently asked questions. This helps AI handle unusual situations appropriately.
Validate AI Understanding
Test your Assistant with questions that require connecting information across multiple documents to ensure it’s synthesizing knowledge effectively.
Next Steps
Knowledge Scope
Configure the boundaries of information your Assistant can access
Assistant Prompt
Set the directions that shape your Assistant’s behavior
Video Tutorial
See Knowledge Setup in Action
Watch how to configure knowledge scope and upload knowledge files